Lens Artists Challenge #235: Shadows and Reflections in Monochrome

I love black and white images when done right. Meaning, not every shot is suitable for black and white unless you know how to burn and doge with ease. Since I’m not artistic, I wait for the picture that is suitable for black and white. Thank you Patti for having me explore my black and white images and the concept of monochrome.

Who would have thought a beautiful lotus flower would be suitable for black and white? I did after processing this in color and then playing around a bit.

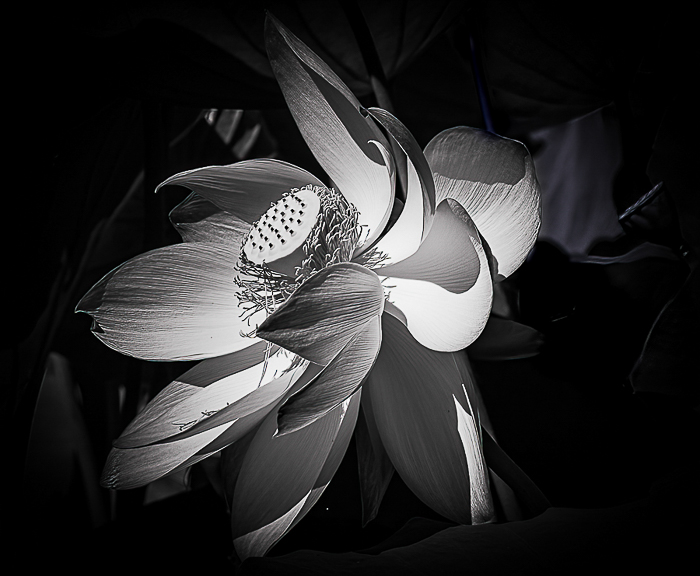
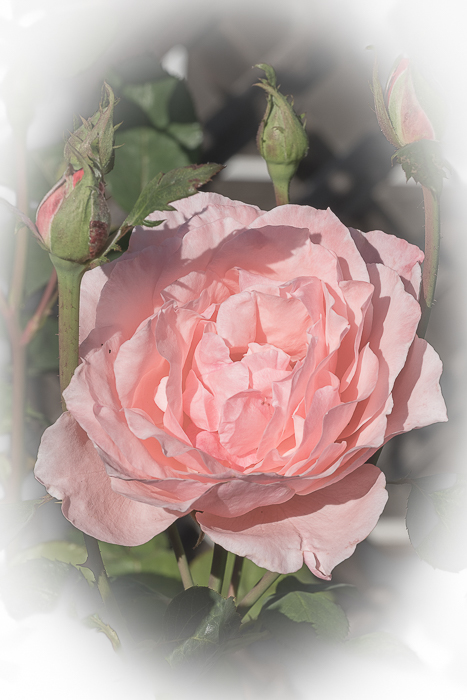
At this point I need to explain how I create a black and white image. I shoot all my images in color and process them in color. I then take the images I think might look good in black and white and export them to NIK Silver Efex (lately I’ve even converted them in Lightroom, especially for this post,), play with it and then export back into Lightroom. I liked the way the shadows fell on this flower’s petals.

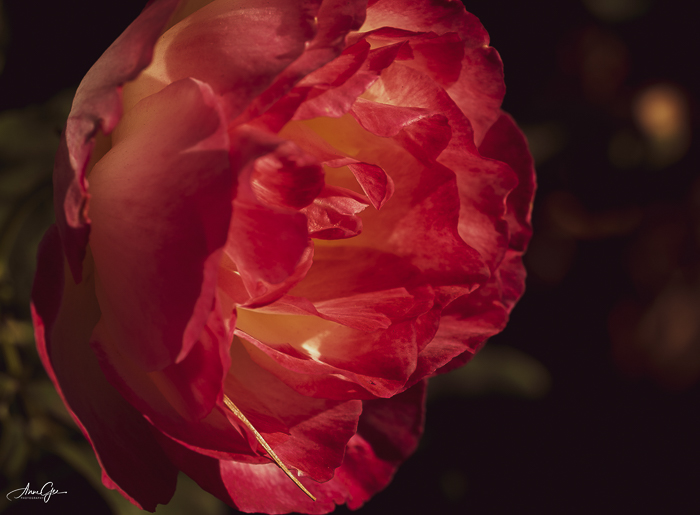
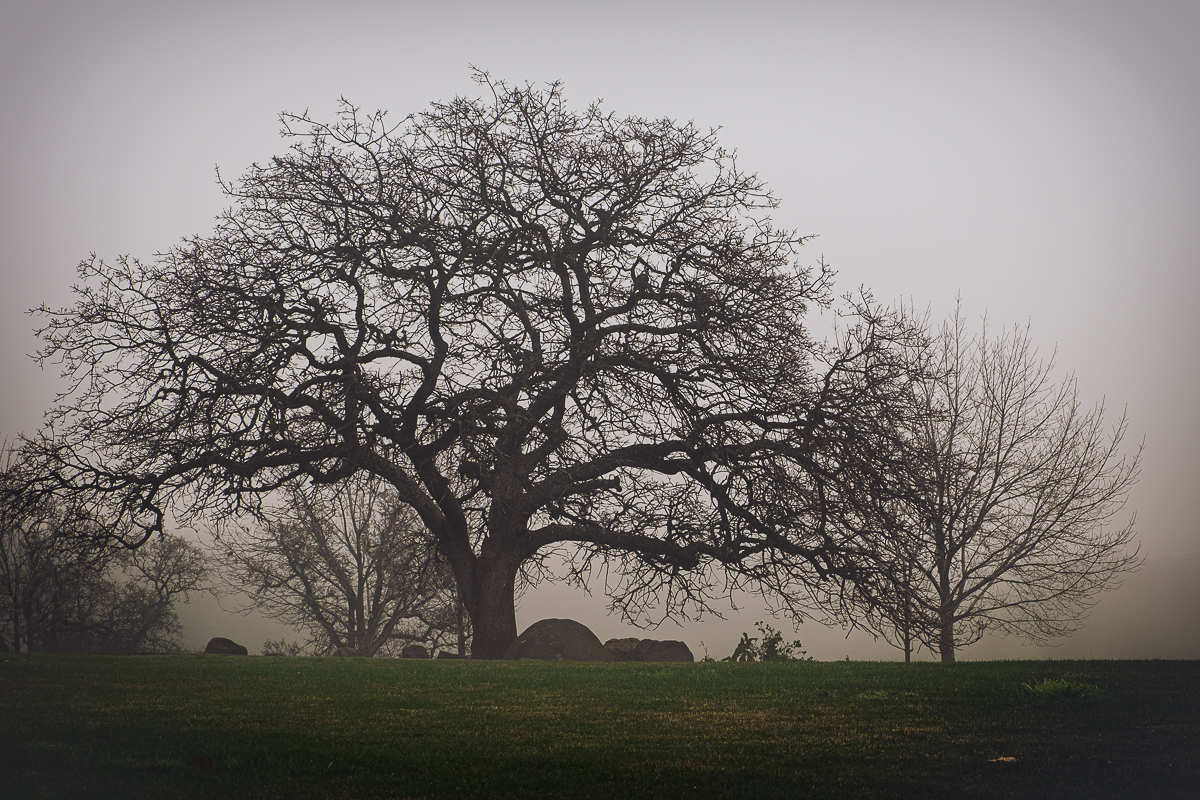
For shadows I have three examples. Explanations are in the captions.

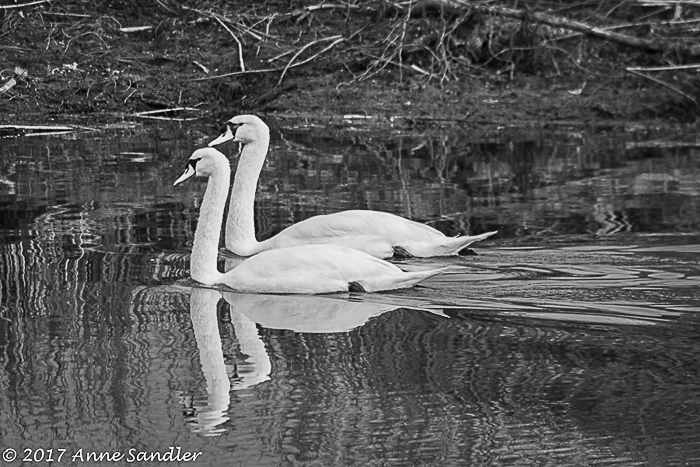
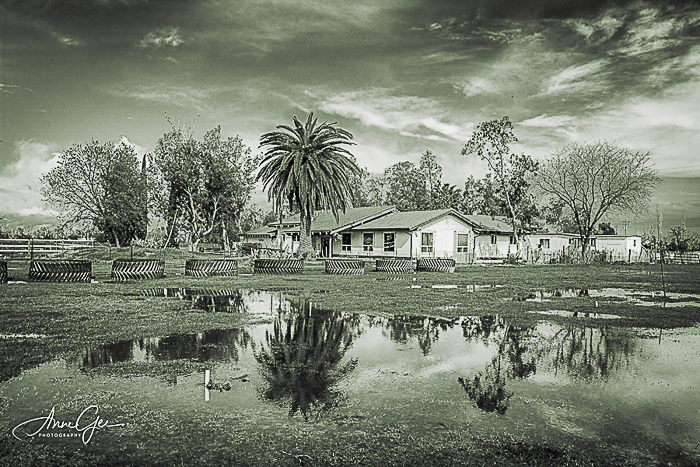
The next two are reflections that I just processed to black and white. I wasn’t too happy with the contrast of the landscape so I played with a green filter.

Here’s an image of a person sleeping in an area of dark shadows.

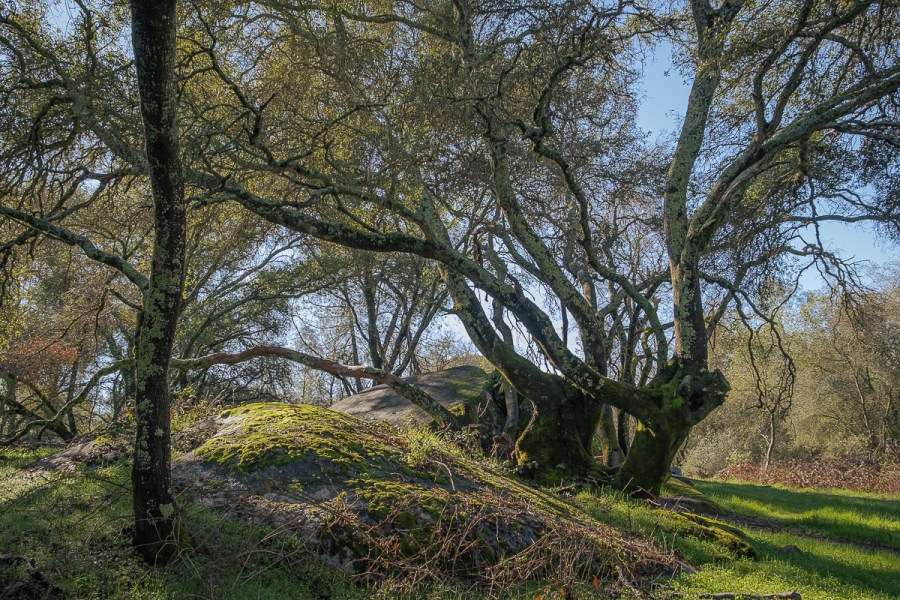
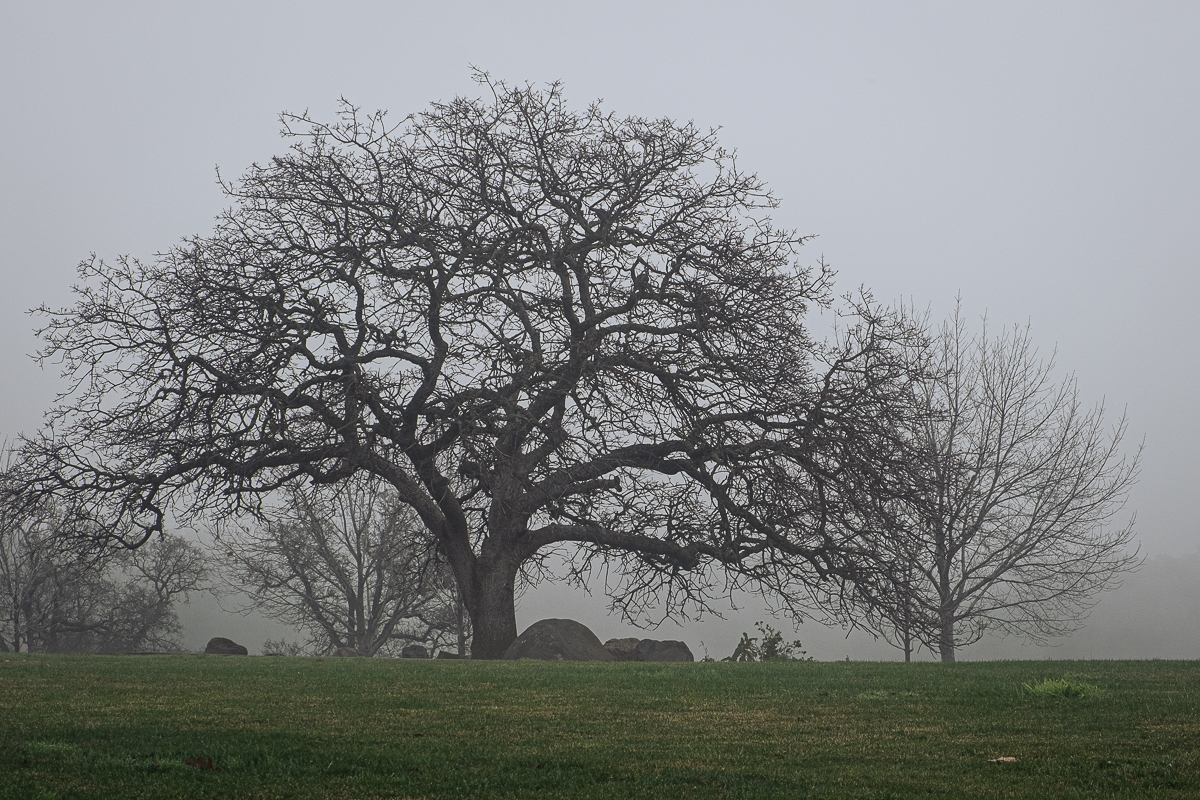
I’ll end with images that are among my favorite black and whites.

Thanks for this fun challenge Patti! Please remember to link to Patti’s post and use the Lens-Artists tag when you post your reply to this amazing exercise. Last week we all enjoyed your variety of responses to Donna’s Messages. Amy will be bringing you next week’s challenge. Be sure to look for her post.

If you would like to participate weekly in our Lens-Artists Challenge, click here for more info. 

Lens-Artists Challenge #224: Exposure

Sophia, I had so much fun with this challenge. I seldom take the time to try different things with my images once I’ve processed them, so this was an enjoyable practice. I may do it more often.

I played with exposure in post processing, using images in my archives. Most of them have been posted before. First, the high key images. I used a great egret taking off. I wanted to see what happens when you do a white bird as an overexposed image. Then I had fun with some of my roses.

This was a dark pink rose, I lightened the color, added a misty filter and then a white vignette.

Now for the overexposures. I found these easier than the high-key images.

For my last bit of fun. I was trying to do a building in high-key and tried the infrared filter. I played around with it and I like it. I usually don’t like infrared images.

I hope you’re having fun with Sophia’s challenge too. When you post, be sure to link to her original post and use the Lens-Artists tag. We enjoyed reading about and seeing everyone’s Flight of Fancy last week. There were many variations of the theme. I’ll be leading next week’s challenge so look out for my post.

If you would like to participate weekly in our Lens-Artists Challenge, click here for more info. 

Lens-Artists Challenge #134: From Forgettable to Favorite

I admit it, I’m lazy. I totally enjoy spending time taking the photo, but not processing it. This week Tina has challenged us to show how we’ve turned our “forgettable” photos into “favorite” images.

Well, here’s another problem. Once I get an outing’s photos into my desktop, I delete the ones I don’t like and just process the ones I do like. So, for this challenge, I’ll show a before and after with how I edit.

Going back to my being lazy, I mostly rely on Lightroom (LR) and presets in NIK and De-noise in Topaz. Photoshop allows me to take out unwanted stuff with the spot healing brush and also replace skies. It might be more that I don’t prioritize learning more.

My examples were taken last month. This tree was taken on a very foggy morning at Boulder Ridge Park. I did basic editing in LR, working with the highlights, shadows, whites and black sliders. I then put into NIK Color Efex and used the detail extractor preset to accent the tree. I wanted the tree to stand out more. Before is on the left as you look at your monitor. After is on the right.

This next one is the entrance to Stock Ranch Preserve. Although they are not exactly the same image you can see the difference the my edits in LR and Color Efex accomplished. Here I used LR sliders to enhance the orange on the fence and Color Efex to bring out the details and enhance the sky. Of course, all my images get the crop treatment.

This is on the way to Folsom Dam. Again not exactly the same image, but a good example of what I began with. I worked with the shadow and black sliders in LR and the tone curve. I brought it into Color Efex to bring out the sky and clouds. When in Color Efex, I use the sliders also. However, I haven’t mastered the control points.

This last image is of trees along a portion the Miner’s Ravine Trail. I love trees, especially when they have lost their leaves. They are so expressive. Again, the same treatment in LR and Color Efex. I also cropped the tree that seemed to be in the middle. For this I wanted to lighten up the tree trunk, keep the tree shadows and highlight the sun. Color Efex brought out more detail.

I know I can do more with the editing programs I have. Will I prioritize the time to learn. I hope so.

Luminar frustration: Old Sacramento

Did you ever have a problem only to be sent around in circles? Unfortunately, I’m writing this post just after encountering a problem with Luminar.

I’m licensed for Luminar 4, and in the short time I’ve had it, I love it! I get an email regarding what looks like an update to Luminar 4.3. Great! Not so great. Once I install the update, it tells me I downloaded a free trial. If I have a license, put it in this box. I copied and pasted my license number in the box, and it says it’s not associated with my email.

I try a few more things, and finally it says that license number is associated with my email! In frustration, I tried to get a hold of tech support. The chat box opened. This chat is computer operated–no live person at the other end. To make a long story less long. The chat bot, as it’s called, gave me instructions that either didn’t work or sent me in circles. I’m currently waiting for a tech support reply. Do you hear my screams??

Okay on to Old Sacramento. We went down there for a sunset. I was amazed at how crowded it was, and many people weren’t masked. That made me a little uncomfortable, so I tried to stay away from people as best I could. There weren’t any clouds, but I thought this would be a good opportunity to replace the skies with Luminar. It worked well, and for the most part I was happy with the results.

Here are some before and after shots.

This was the first one I did. A photo buddy suggested moving the cloud so that it wasn’t directly over the tree, but since it was a Luminar sky, I couldn’t.

This one I went from Lightroom to Luminar to Nik Silver Efex.

Another attempt with a much smaller sky.

And finally, this image got me into the trouble today. I was looking for a tutorial on cleaning up a sky replacement, but first went into my email. I should have gone to the tutorial first. This is the Tower bridge. I liked the sunset sky, but the second tower seems to have the sunset sky run through it. If anyone has a suggestion how to eliminate that thin bit of sky, let me know!

Luminar had nothing to do with this last image; just mother nature and a boat.

I’ll let you know how I make out with Luminar in another post. Maybe my next one! Hopefully in my next post!!

Yolo Art & Ag: The CR25 Ranch

Fortunately I’m getting used to driving the various county roads in the rural areas of Yolo County. I was alone on this July expedition to the CR25 Ranch in Esparto, but remembered some of the roads from last month’s journey when Marlene road with me. The CR25 Ranch is located on the County Road 25!

I like getting out into fresh air and drive around the countryside. And, I’m lucky that this scenery is a little more than an hour away. This ranch is not as large as some of the others I’ve been to, but there was enough to keep me busy for 1 1/2 hours.

This horse was alone in a pasture. He was midway, but my Fuji camera with lens extended to the full 200 mm was able to capture him in focus. I cropped him in Lightroom. Here’s the result.

Here are some landscapes of the ranch, showing pastures and barns.

This ranch may have been small, but it did have its share of “ranch art!”

A few of the cows came down from mid-pasture to get some water. One of them stood out. Was he trying to stick his tongue out at me. Also, it was good that it wasn’t a frosty winter day or else that tongue would have stuck to the watering trough.

I’m enjoying the new camera and still learning more about its capabilities. It does more than I’ll ever use! Where will Yolo Arts take us this month?

Slow September: The Foothills and River Bend Park

Confession: I haven’t been shooting much this month, except for real estate. I’ll admit that my abilities have grown in that niche, and I enjoy the challenge. Otherwise, I think I need something different to shoot. Tomorrow may just give me that chance. We’re going down to the Ironstone Vineyards, in Murphys to take pictures of their annual Concours d’Elegance, featuring old vehicles and their owners in period costumes. I’m hoping that will perk me up.

On a good note, I’ve taken the time to prioritize watching Matt Kloskowski’s Lightroom course that I purchased a couple of years ago. I do like his teaching style. But, Matt, I need help on re-organizing my folders! I didn’t know what I was doing when I started Lightroom, and now I’m paying for it. The years are all mixed up and it’s difficult to find stuff. Marlene helped me, and we got it into months and then years. However, the new additions are not following any sequence! It’s just frustrating. I’d like to start over, but that would be worse. But I’m glad that I spent the time on the course. Next is Photoshop!

The small amount of time I’ve spent shooting hasn’t yielded any amazing photography, just some interesting pieces that I’m showing you in this post.

In this first set, Jean and I just wandered around the Sierra Foothills for interesting things. We didn’t find too much. Here are some:

The next pictures were taken at River Bend Park. I was amazed at how glassy the American River was.

Tomorrow should be more exciting if it doesn’t rain. Yes, they are predicting rain for the morning. Light rain, but…..

Have a great weekend everyone!

Getting photos organized: Kauai, Day 4

Who can say no to 250 free photo prints? I can’t. So when Shutterfly posted this freebee with only one and a half days to prepare, I went to town and got the last quarter of 2018 sorted and done. It’s not like they weren’t organized. Lightroom and my desktop system is great for doing that. I just needed to go through them and pick the ones I wanted 4 x 6 prints of, and change the dpi to 300 for printing. Of course nothing is free. Their shipping is pretty high.

You’ve seen a lot of them through this blog, and I’ve printed some out for competition in the Sierra Camera Club. I print 4 x 6 prints for scrapbooking. It’s a great feeling to have 2018 completed. However, 2019 is totally void of pictures! I’ll be going out shooting on Tuesday. Meanwhile, maybe I can learn some of Photoshop this weekend! I’ve been told to delve into Photoshop, I need to shoot less and edit more. That’s a great goal for 2019!

In the meantime, here’s day 4 of the Kauai trip. Going along the south shore, we visited the Spouting Horn and Po’ipu Beach. When we were in the town of Koloa we saw the Monkey Pod tree, the Sugar Mill Monument and ate delicious pizza for lunch. In the evening, we went to Smith’s Garden Luau. The grounds were beautiful and the food delicious. After dinner we sat in the front row so we could have a great vantage point for shooting pictures. But, a crop sensor is just not that adaptable to low light situations where there’s a lot of movement. Marlene’s mirrorless camera did the best.

Do as I say…..Kauai, Hawaii

Merry Christmas everyone!

I finally finished editing my Kauai trip. Two of my photo buddies, Laura and Marlene, went, using my time share condo. This was my first trip dedicated to photography, and I was grateful to have two great friends along. It seems I never stop learning.

I made mention of my trip in a prior post, and my photo blogging buddy, Donna Robinson of Donna Robinson Photography, said she was looking forward to my Kauai posts so she could get some great tips of what to do when she goes. Well Donna, I can give you tips on NOT what to do!

First don’t pack every lens thinking you may need them. Really, do you want to miss any photo opportunity Hawaii can offer? I packed 5 lenses and two cameras. You do need a second camera if one breaks! Fortunately, I had a case that just fit all that stuff. Oh, I forgot to mention a flash and loop.

Second, don’t pack anything heavier than you can carry. I decided to put my camera bag and overnight tote on a luggage carrier and wheel through the airport. This worked until it was time to get on the plane. Then I had to carry the camera bag, tote and luggage carrier onto the plane. This wasn’t easy for a 75 year old weakling. Worse, when we were trying to catch our connecting flight, I didn’t have time to load up the luggage carrier. That night, my hip hurt and was hurting through the entire trip.

Third, check the camera settings. I shot on JPEG the whole week! I’m blaming the fact that I didn’t realize it on being 75!

Last, make sure you put your new logo into Lightroom on your laptop!

So Donna, that’s what not to do!

We spent our first day traveling to Waimea Canyon, stopping along the way at various turnouts, enjoyed our first introduction to shaved ice at Joe Joe’s, went on to Swinging Bridge and then caught our only sunset along Waimea Canyon Drive.

Here’s day one!


Hey, you said this trail was flat! Auburn Quarry Trail, Auburn, California

He really didn’t lie; but when my dear photo buddy Richard promised us a flat trail with one or two hills, he under exaggerated.  You see, Richard is an experienced hiker. We are not! The hills were a huge mountain for us. Now, am I exaggerating?

I do like to complain and Richard gives it right back. We, in our little Camera Totin’ Tuesday group, have a lot of fun. Through all the griping (I wasn’t the only one!), we had fun. After all, it’s the interaction of the group that makes a photo outing great.

We followed the Auburn Quarry Trail, part of the California State Park system, along the American River, and when we reached the top (as far as we were going to go), we were fortunate to come upon a few mountain climbers practicing. The sun was powerful that day in Auburn, so I had to deal with exposure issues. I shot mostly handheld HDR, but wasn’t satisfied with the results. So I basically edited one of the three shots in Lightroom. In the end, I was satisfied. Take a look. No captions needed.

Just enjoying it: Indian Grinding Rock State Historic Park

We just wanted to go shooting for enjoyment, and not too far. So we found the Indian Grinding Rock State Historic Park in Volcano, California. This land preserves a large amount of marbleized limestone with about 1185 mortar holes–the largest collection of bedrock mortars in North America. Women would gather together and visit as they ground their grains in the mortar holes.

There’s also the Chaw’se Regional Indian Museum and a reconstructed Miwok village on the grounds. The one building I had fun photographing was the Ceremonial Roundhouse which is used for various social gatherings and ceremonial events. Since it is used currently for those purposes, we couldn’t go in.

My challenge during this outing was the brilliant sunshine and the shade. This drove the camera sensor crazy–me too. I tried some handheld HDR (tripod wasn’t with me), and focusing on the shade and then raising the camera which blew out the sunny area. The best I could do was to focus on the sunny area and move the camera. Fortunately Lightroom has a graduated ND filter and a shadow slider. Both came in handy during post processing!

But, it was a perfect outing, and we did enjoy it. Sometimes you just have to get out!