Lens Artists Challenge# 381: minimalism in black-and-white photography

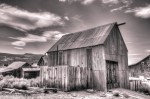
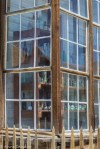
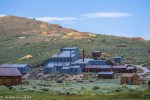
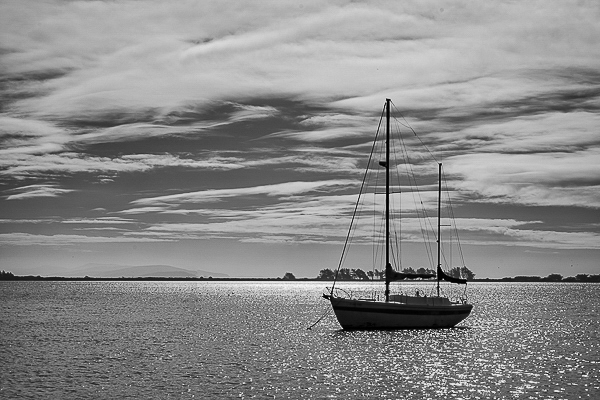
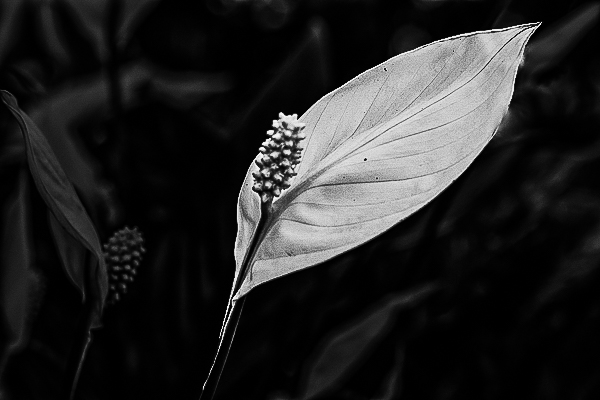
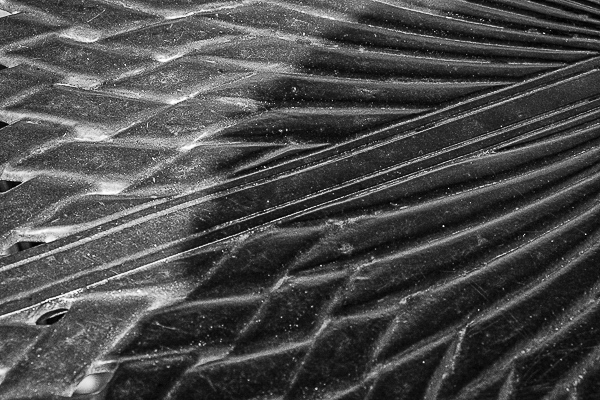
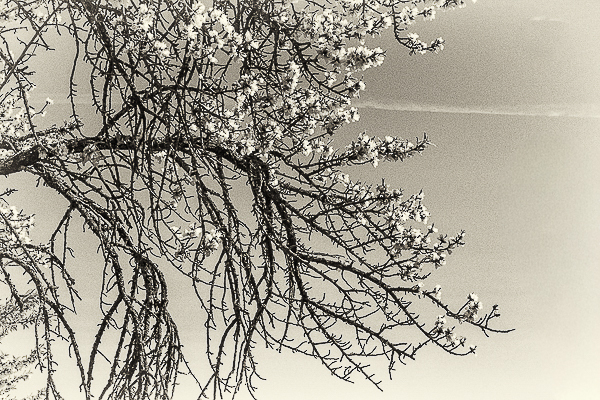
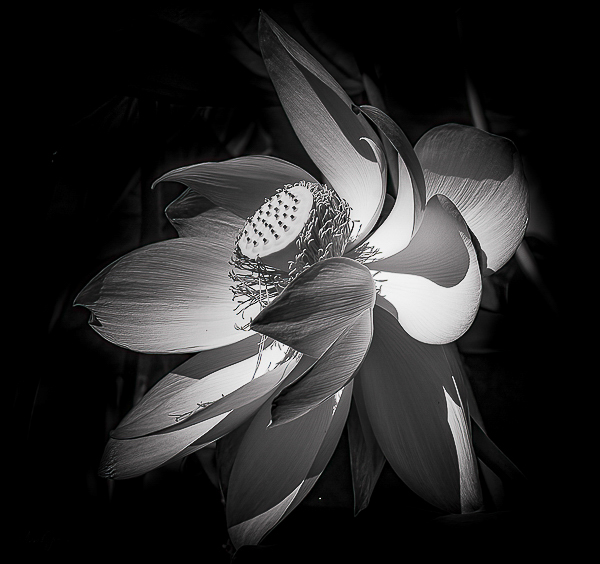
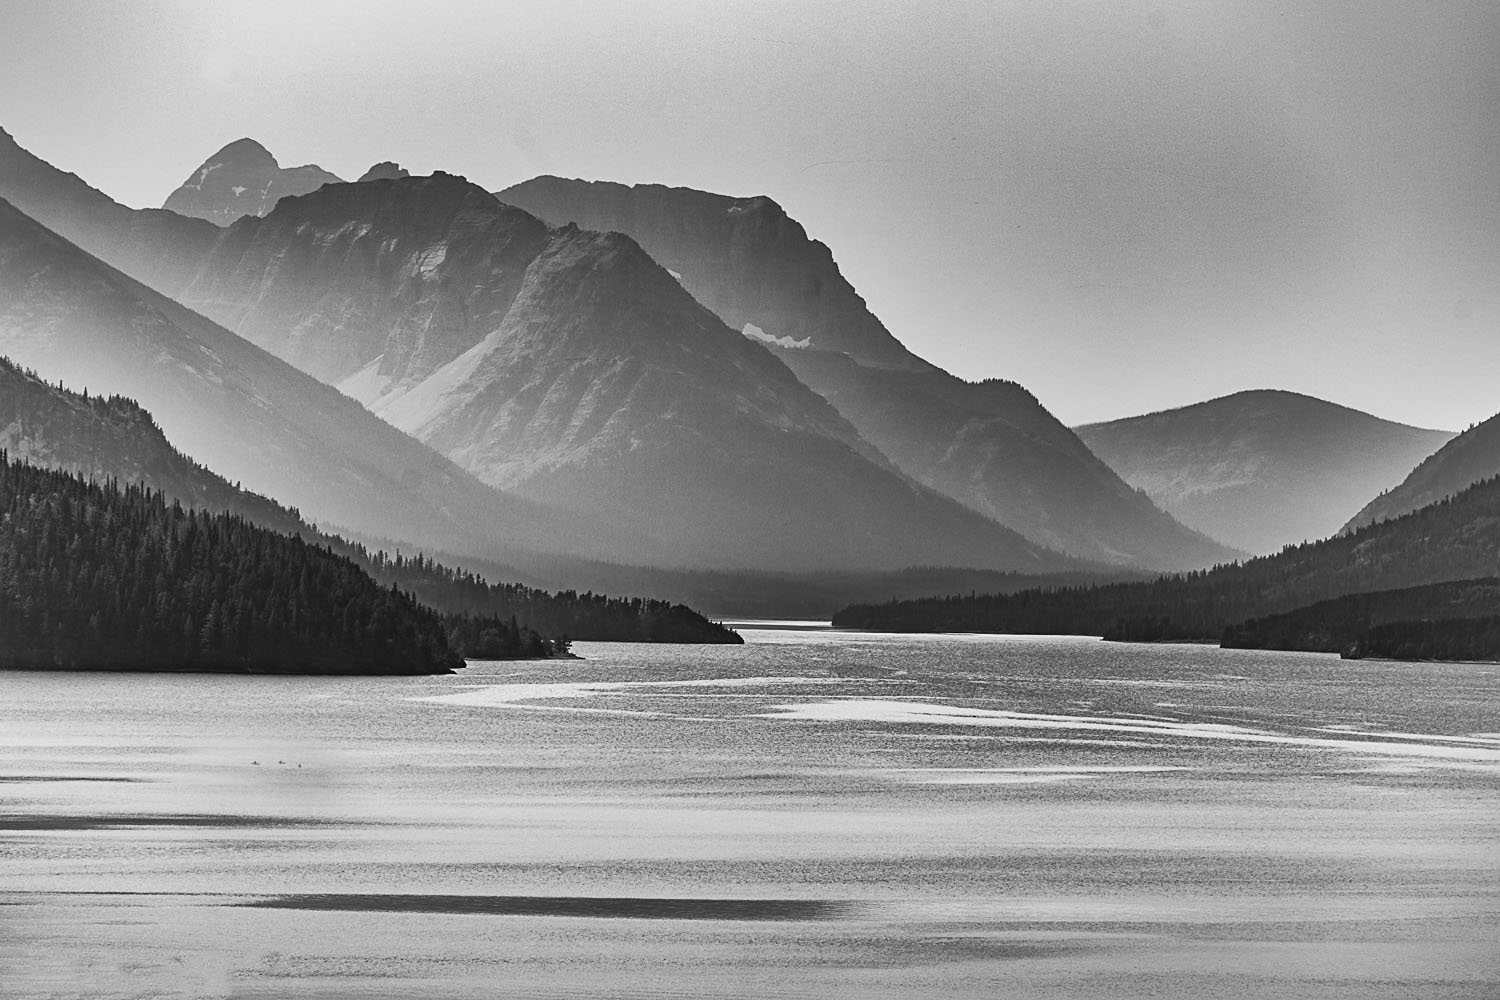
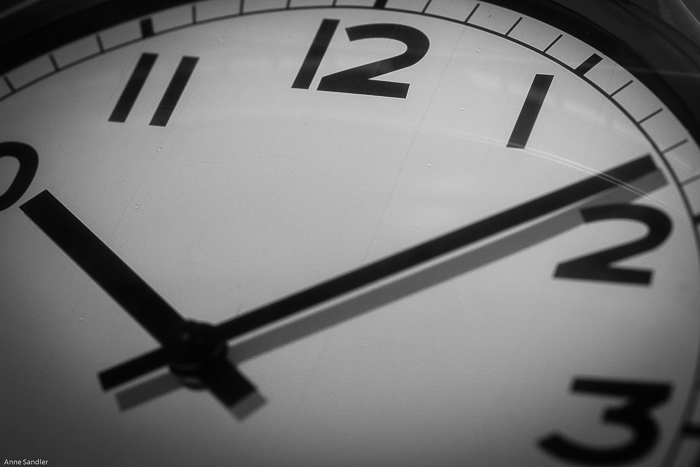
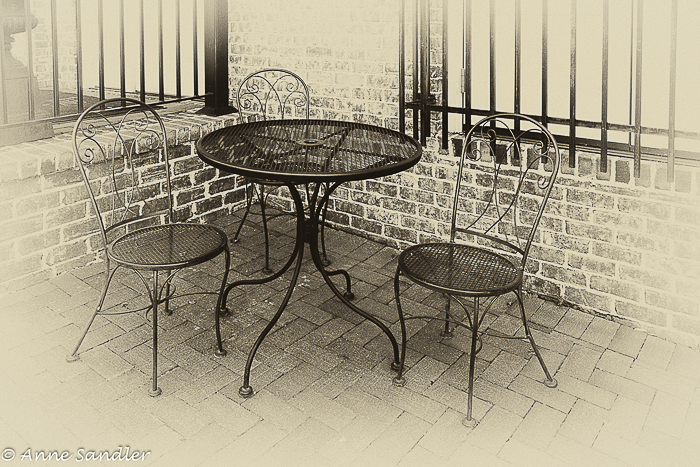
My world is definitely black and white today, or should I say gray. We have a dense fog that just won’t lift. So I guess the time is right for Ritva’s black and white (B&W) challenge.

I enjoy black and white photography. However, the environment has to be right. Sometimes when I’m out with my camera, I know the timing is right for B&W images. Other times, I see the opportunity during the editing process.

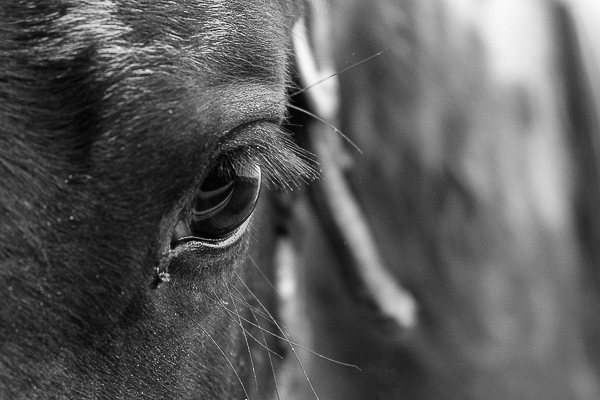
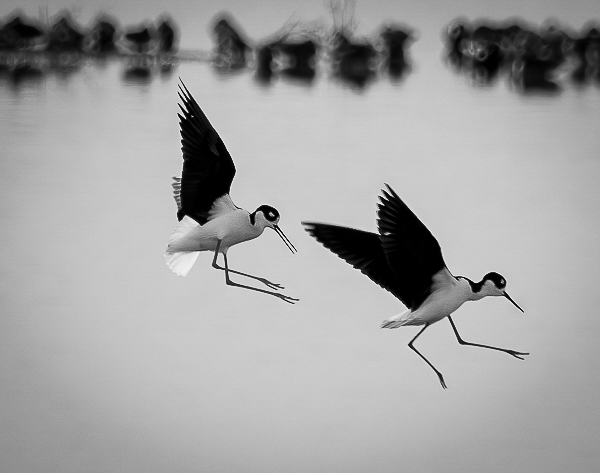
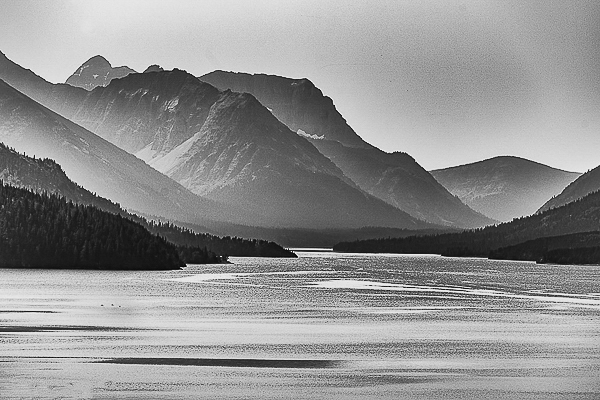
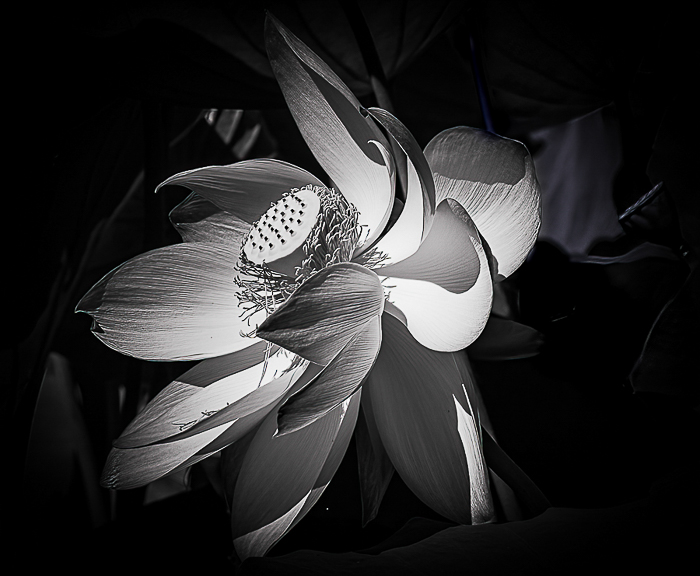
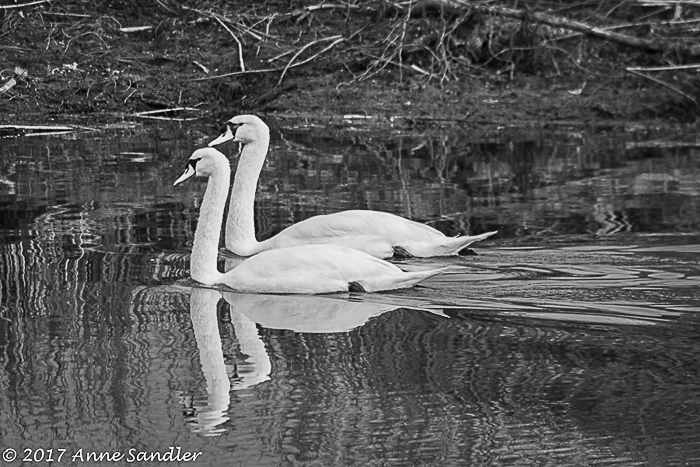
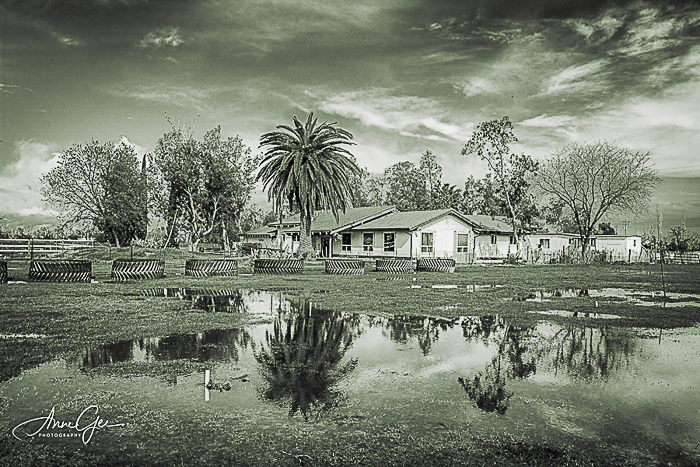
However, this week Ritva is combining minimalism with B&W. Now that’s a challenge! I was surprised going through my archives that I had quite a few images that met those requirements. Because my back is just not liking today’s damp weather, I’ll make this a short post. Here’s some of what I found.

Thanks Ritva for this challenge. When you post your response, please link to Ritva’s original post and use the Lens-Artists tag. Last week I had so much fun seeing what you found Around the Corner. Next week Egidio will be leading the challenge. In the meantime, stay safe and be resilient.

Monochrome Madness: Textures in Black and White

Black and White allows texture to come to the forefront. It’s amazing how well we can see the texture in an image once we change it to monochrome. To be really effective there must be enough contrast.

This picture of Lake Waterton in Alberta Canada was a pretty image. However, once I changed it to monochrome (I thought there was enough contrast.) I saw the texture in the mountains and water.

This is submitted for Sarah’s challenge which she created for Leanne’s Monochrome Madness. I hope that linking to each works.

Now off to more on my list! Thanks Sarah and Leanne!

LAPC #265: Black and White or Monochrome

Is monochrome black and white? Is black and white monochrome? You may be surprised at the answer. I was after I did some research. Here’s what I found.

Black and white is the result of only using black or white and shades of. The shades of meaning grayscale.  Here are some black and white photographs.

Monochrome photos contain variations of only one color and nothing else. Meaning, different shades of one color like blue, red, green, etc. Here are some of my examples.

Now here’s something I learned from my research. Since black and white photos contain variants of the color gray ranging from absolute black to absolute white, all black and whites are monochrome images. But not all monochrome, by nature of their dominate color are black and white photos.

Here are some of my photos shot in color, converted to black and white and then I added a sepia tone. This process puts them in the monochrome category.

How do you shoot black and white images? My research suggests that we shoot in color, so we get the additional tonal range that color provides. Then convert your photos to black and white when you process. I photograph in color. If I see a great deal of contrast, I use Lightroom to take a quick look at how it would look in black and white. Then I edit in NIK Silver Efex.

There’s so much more to editing black and white images, but let’s save that for another post. Here are two of my favorite black and white images.

Are you ready to show off your black and white or monochrome images? I’d like to see them. Did you shoot them in color and how did you process them? When you post, remember to link to this post and use the Lens-Artists tag so we can find your wonderful images.

I enjoyed seeing all your photos using primary colors. Sofia gave us such a fun challenge. Next week, Donna will be challenging us. Be sure to look for her post.

If you would like to participate weekly in our Lens-Artists Challenge, click here for more info. 

Lens Artists Challenge #235: Shadows and Reflections in Monochrome

I love black and white images when done right. Meaning, not every shot is suitable for black and white unless you know how to burn and doge with ease. Since I’m not artistic, I wait for the picture that is suitable for black and white. Thank you Patti for having me explore my black and white images and the concept of monochrome.

Who would have thought a beautiful lotus flower would be suitable for black and white? I did after processing this in color and then playing around a bit.

At this point I need to explain how I create a black and white image. I shoot all my images in color and process them in color. I then take the images I think might look good in black and white and export them to NIK Silver Efex (lately I’ve even converted them in Lightroom, especially for this post,), play with it and then export back into Lightroom. I liked the way the shadows fell on this flower’s petals.

For shadows I have three examples. Explanations are in the captions.

The next two are reflections that I just processed to black and white. I wasn’t too happy with the contrast of the landscape so I played with a green filter.

Here’s an image of a person sleeping in an area of dark shadows.

I’ll end with images that are among my favorite black and whites.

Thanks for this fun challenge Patti! Please remember to link to Patti’s post and use the Lens-Artists tag when you post your reply to this amazing exercise. Last week we all enjoyed your variety of responses to Donna’s Messages. Amy will be bringing you next week’s challenge. Be sure to look for her post.

If you would like to participate weekly in our Lens-Artists Challenge, click here for more info. 

First print competition and lessons

It’s not easy putting your work out there and have it judged. But for me, it was great. I didn’t do as well as I did last time at the Sierra Camera Club in Sacramento, but this was for the print division and a different judge. I entered into the Monochrome and Color categories. We are allowed two images per category. The other category is artistic–I’m not ready for that!

Here’s how my images were judged on a sliding scale of 8 – 12. I’ll give you a hint: 3 were 10’s and one was 11. I’m not upset, but I’m excited. I learned terminology I’d never heard. The judge not only graded, he explained why and gave ways to correct the problem he saw. He was teaching. He was surprised and said at one point that he hadn’t  seen any eights or nines!

Here’s one that got me a 10.

untitled-0706

He thought the figure was too dark and got lost. He suggested I work with the dark and light to add more depth, and that the scale was not that impressive. Well, I can disagree with the scale not being impressive. I guess you had to be there.

Here’s the one that got me an 11:

people (14)
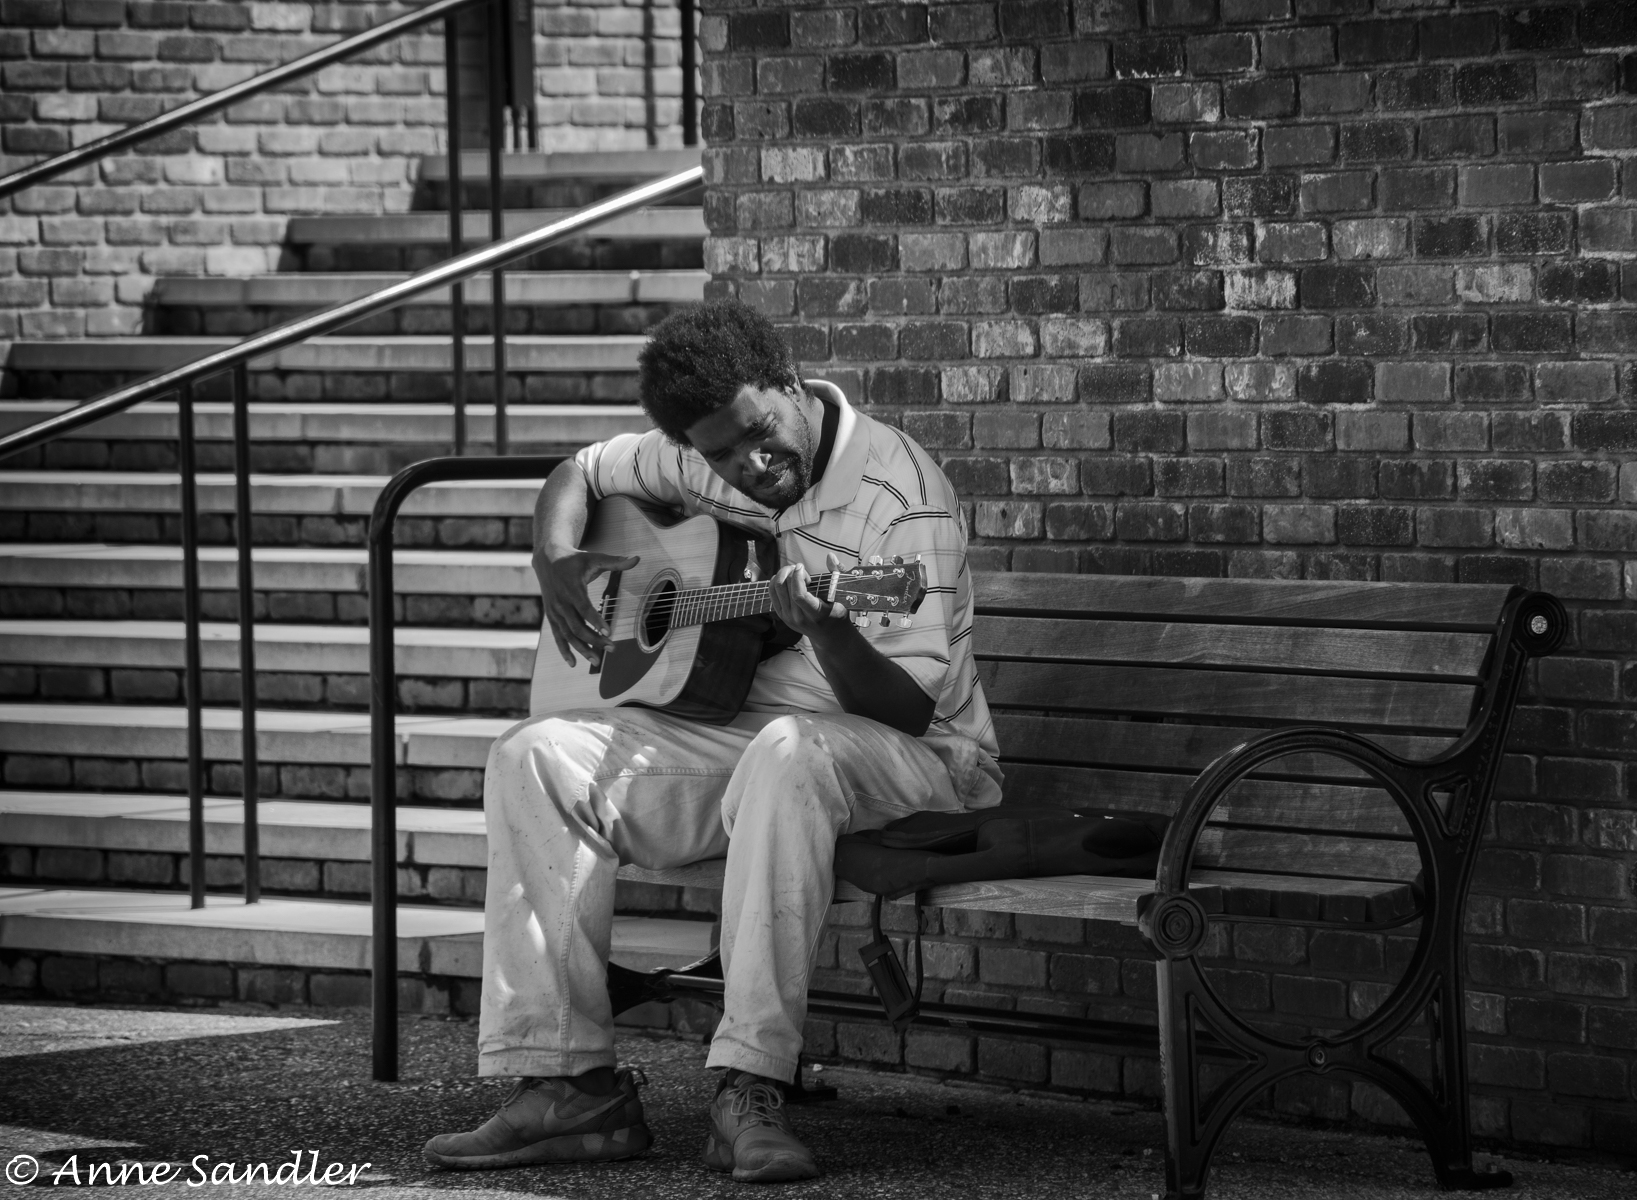
Here’s the one that I got an 11 on: Well, it’s not exactly the one. I couldn’t find the one I had printed. I cropped off my copyright for the competition image and he said he would have liked to see his whole foot. He also said that the guy was centered–another distraction, and I agree. He suggested that I could have shot the picture from the other side and then the guy wouldn’t have been centered. Who knows what it would have looked like. I did learn not to put a copyright on an image that I might submit, but make a virtual copy. Also, take a candid, which this was, then ask if I could take his picture. Then I could have taken several shots and moved around. However, he did say that the tonal values were right on. That got me the 11.

I’m loving this camera club and learning a great deal. I took 3 1/2 pages of notes at this meeting, and I’m looking forward to once again putting my work out there and have it judged.

PS: The top image rated a 10. I submitted it without the copyright.


On the road again: Bodie and Mono Lake, part 2

I can’t believe I left my tripod home! I’ve worked hard to become “one” with it, and I left it home. As I post about Bodie and Mono Lake, we are visiting Kings Canyon/Sequoia National Parks and Fresno, California. I’ll post about this visit back to the parks after a more than 30 year absence next.

So far, I haven’t needed the tripod, but I did need it in Bodie. Why, to get great HDR images, you need to bracket and that’s difficult to do handheld. I’ve done it, but it’s much easier with the tripod. I did a lot of bracketing in the ghost town, because that seems to be a good way to present the decaying buildings and machinery.

Founded in 1876 as a gold mining town, Bodie is a now ghost town in the Sierra Nevada mountain range of Mono County, California.The nearest is Bridgeport,  where we stayed. I talked about the altitude (Bodie is at 8,379 ft or 2,554 m.) and my reaction to it in my previous post. Bodie is also recognized it as a National Historic Landmark, became a California Historical Landmark,  and officially became Bodie State Historic Park in 1962. We were three of the about 200,000 yearly visitors.

Because of the ghost town’s altitude and other health issues, I had a difficult time. However I thoroughly enjoyed it. I just took my time and rested when I needed to. Back home, I had a lot of fun with pushing sliders in Lightroom and processing images in black and white.

Here are some of my favorites in Bodie. Mono Lake will be in my next post. And, I’ll tie a string around my finger regarding my tripod when we head out on the road again!

Still shooting in dismal skies: Crockett, California, final chapter

Right now, I am totally enjoying the sun streaming through my office window. Its warm glow feeds my body and soul. But, remember, we are still in Crockett under fog and clouds. Today, I will show you what two photographers do when they are waiting for their food, and an old truck we stumbled upon.

So, just what do photographers–amateurs–do when lunch is going to be a long time coming? We take out our point and shoot cameras and wander the restaurant. Actually, this was a quaint deli where your could get sandwiches, and it was well worth the wait. I could only eat half my sandwich and enjoyed the rest later in the afternoon. On our way out of Crockett, I saw an old truck on the side of the road in a residential area. I love it when I’m out with a photo buddy and we can just stop and take pictures whenever we want. This truck was a photographer’s dream–old and in rough condition.

Have fun with the images as we say so long, for now, to dreary skies and say hello, for about a week, to the sun.

Self-taught photography lessons

Yes, I teach myself lessons all the time. However, they are never planned or easy! Yesterday, not feeling well, I decided I needed to go up to Dry Creek, practice HDR and work with my new prime 50 mm lens. I was bummed out because we were supposed to be in Adin, California at a star party. I was looking forward to trying some night sky photography. But our trailer lost a wheel and axle in Anderson and we came home with the truck loaded with our clothes, food, camera gear and telescopes.

So, you can understand why I needed to do some photography at my favorite, close-by creek. Dry creek which is usually quiet was teeming with families on every possible square inch of beach area. They were just enjoying the water, but it was difficult to find a spot to do some HDR. I did find a couple of areas, and set up my tripod. But, without photo buddy Jayne with me, it was a struggle (She helps me a lot!). Now I am totally one with the tripod, having won the battle. I do have tenacity! It wasn’t until I was taking the images off the SD card that I realized I was shooting JPEGs and not RAW files.

Also, I’m learning to speak up for the sake of a picture. I did ask a woman who was going to take an empty chair if she could leave it so I could take my shot. Then another woman, who didn’t own the chair sat in it. I politely asked her to move while I took my shot. They were very understand and obliging. I would have been faster if it weren’t for my struggles with the tripod.

I was only there an hour and couldn’t believe I had taken 72 pictures, but I did. What lessons did I learn? First, if you’re not feeling well, stay home. Second, practice with the tripod and check the camera before you leave. And, third, people are nice and willing to help you–just speak up. Here’s the result of my efforts.